Concrete pavers: what you should know + installation guide
Cobblestone, also known as pavers, is one of the oldest building materials still in use today. Currently, they are made of concrete and recycled materials.
Traditionally, it has been used to pave roads, streets, sidewalks. Even though there are more practical and durable options to cover our streets, pavers remain in use for their unique aesthetic: an antique and handcrafted appearance, which gives a new charm to public spaces and homes alike.
In addition, they are relatively easy to install, the perfect excuse to renovate your garden with your own hands.
What are cobblestones?
Cobblestones are shaped stones or concrete blocks used in the construction of roads and streets. Nowadays the most common material for their creation is concrete, due to its high durability and ease of manufacture. However, they can also be made with other materials, such as granite and basalt.
There are two main reasons for using pavers today. The first, and also the most obvious, is the aesthetic charm of this material. Cobblestone is an attractive option for squares, paths, streets and gardens. Pavers can be made to custom designs, offering great flexibility.
The second reason behind the popularity of pavers is the ease of manufacturing, installation and transportation of this material.
How to lay pavers?
If you have already got the perfect pavers for your garden and you have the right tools, you can start preparing everything to install them. Although it is a simple procedure, you have to take into account a series of considerations before starting the installation to ensure the proper use of these products.
1. Delimit the area
The first thing you should do is plan where you are going to place the pavers. Start by delimiting the installation area. You can draw the outline with paint to guide you more easily.
2. Calculate the number of pavers you need
Now that you have defined the area where you will install the pavers, you can now set aside the blocks that you will need. An important recommendation: buy the pavers after delimiting the area to ensure having the exact amount you need.
Multiply the length and width of the selected area to calculate the square footage of the installation area. Make sure you have the measurements of the pavers you are going to use. Now you can calculate exactly how many pavers you need to cover that area.
Remember to add between 5% and 10% more to your cobblestone count. This will give you a margin of error for cutting pavers and installing them in corners and curves.
3. Calculate the slope
The pavers have grooves between each piece, which means that rainwater will penetrate the paver and reach the base. To avoid the problems that this can bring, the surface must be inclined, which will allow the water to be directed towards a drainage system.
The slope should be between 2% and 4%. This slope will be created when you install the base, so you don’t have to worry about installing sloped pavers.
4. Create the base
Before you install the foundation, you will likely need to dig into the ground. Add the height of the base and the pavers: that is the depth that the excavation needs. You will most likely want to angle the base away from your house.
After the excavation is done, you can install the base material. This usually consists of granulated stone or stabilized earth, which is a mixture of earth and concrete. The base layer should be between 20 and 30 cm thick. Don’t forget to take the slope into account! In this case, there should be a difference in height of between 1 and 2 cm for each meter, a layer of non-woven geotextile should be placed to separate the different granulometria from the sub-base material.
Flatten the base with a manual leveler. Now you can install the second layer of the base – the leveling.
5. Install the leveling layer
Leveling, also called a setting bed, is what allows the pavers to be installed evenly. It should be between 4 and 5 cm thick. The most common materials used for this are sand and gravel.
It is important for this layer to be uniform, as it can not compensate for unevenness in the base layer. Use a leveling ruler to flatten the sand or gravel, taking the slope into account.
4. Build the enclosure
It is necessary to install a confinement for your pavers. The confinement is what allows the pavers to stay in place every time they are walked on and not shift over time.
Curbs are often made with a concrete curb, but you can also use wood or plastic edging.
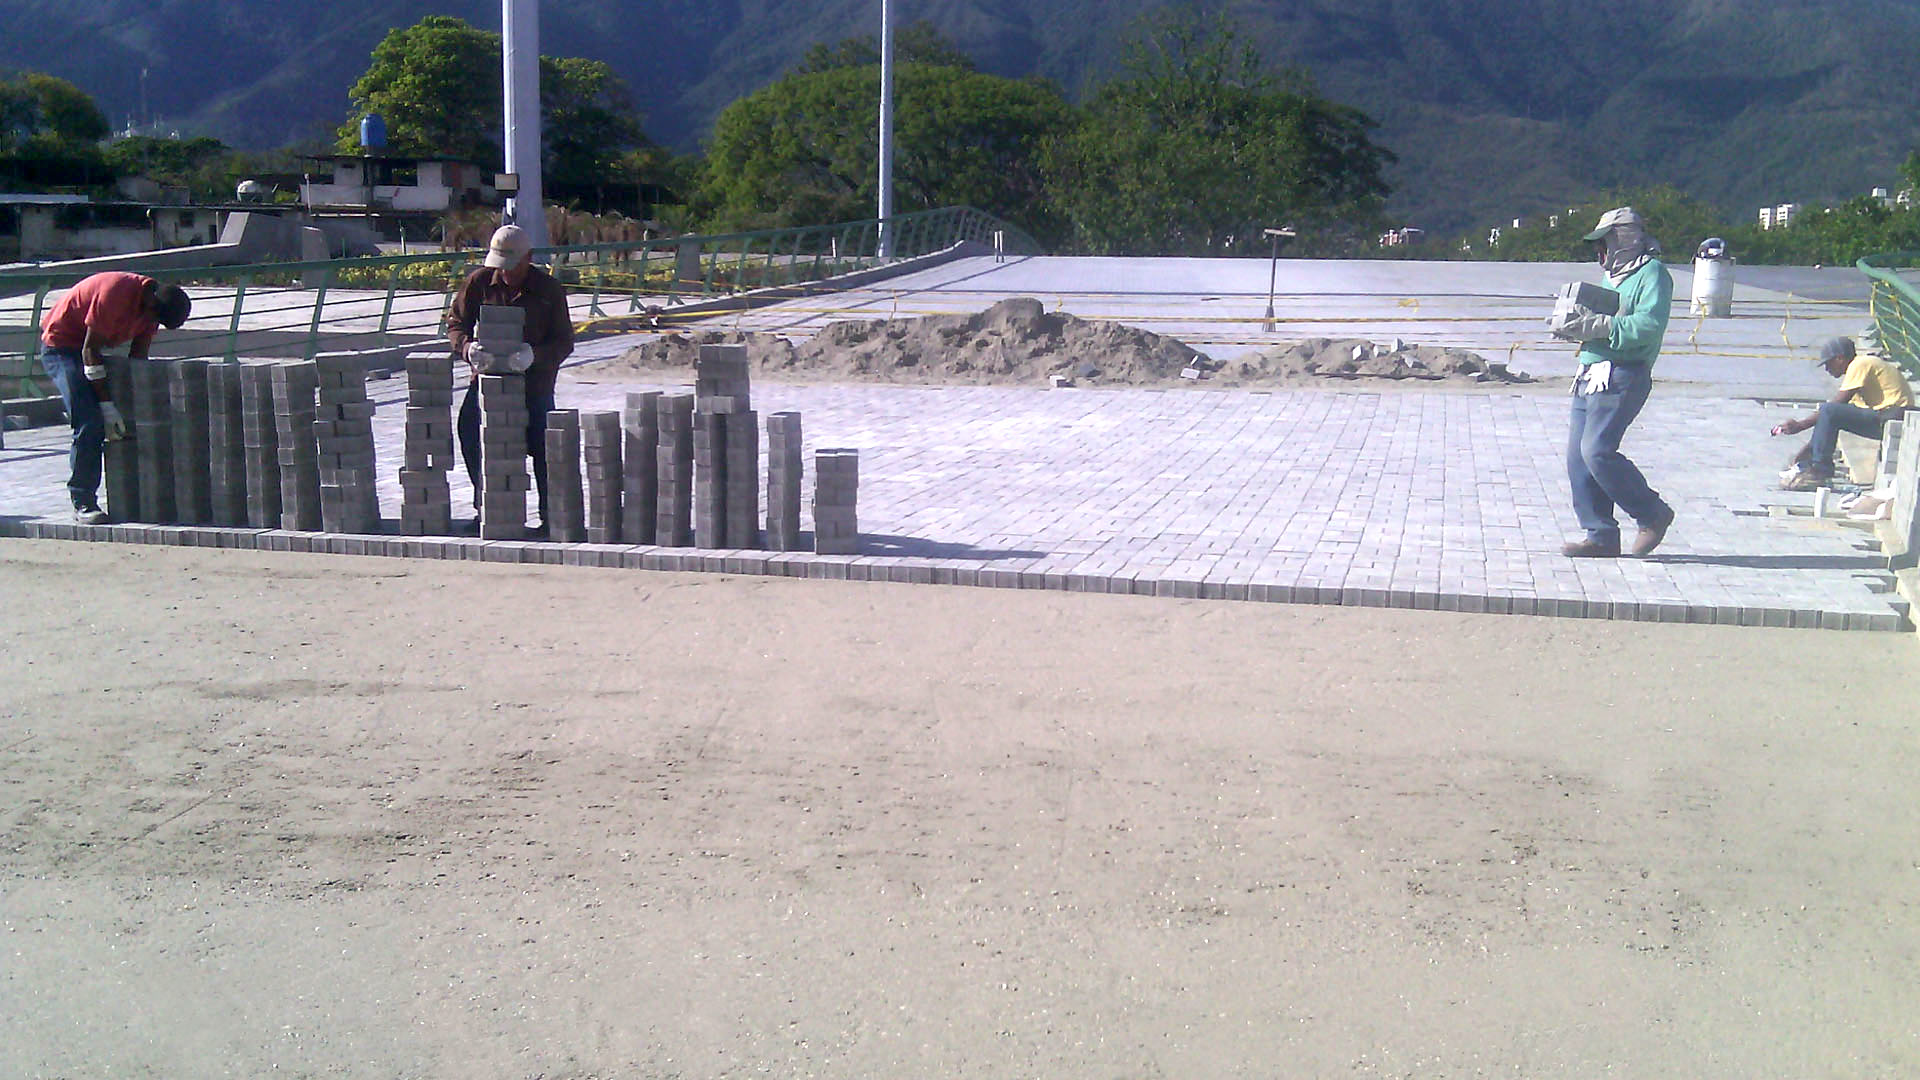
5. Install the pavers
It’s time to lay the pavers. The process is very simple: insert them into the leveling layer from top to bottom and use a rubber mallet to tap them in. Make sure to leave a gap of 3-5mm between each paver.
The cobblestones are irregular, that is, some are higher than others. Place them so that they are all on the same level.
Place the pavers next to each other, leaving as little space as possible between them. If you planned a design, follow it carefully. If you plan to install a standard paver, consider mixing three types of pavers. Paver blocks are irregular, but blending them together makes the irregularities much less visible.
You will need to cut some pavers to fill in the curved corners and edges. After being cut, they should not be less than half the width of the other pavers. Cut the pavers with a water saw and wear all proper protections, including safety glasses, gloves, and a mask.
Once the installation is complete, flatten the pavers with a rubber hand trowel to make sure they are all leveled.
6. Fill the joints
After you install the pavers, you’ll need to apply a layer of sand to fill in the gaps between the blocks. Spread the sand across the entire surface and use a broom to push it into the spaces. Joints should be filled to the brim. Ideally, you should compact the sand after filling the joints and repeat the process a couple of times.
Optionally, you can spread sealant on the joints to prevent the sand from coming out with the rains and prevent vegetation from growing.
At COMOPA Prefabricados we offer a variety of cobblestones, engramed and solid that will shape your project. You will definitely find what you need.
Cleaning and maintenance of paving stones
Your paving is ready! Now you only have to clean it and make sure that there are no problems in the future.
Fortunately, pavers require little to no maintenance. However, it is a good idea to do regular inspections during the first six months. You may need to reapply sealant a couple of times during this period.
Clean pavers regularly to prevent moss growth. Avoid cleaning them with pressurized water, as this can remove sand from the joints.
Common Pitfalls in Paver Installation
As you can see, installing pavers is not difficult, but there are still some common mistakes that are made during this process. Here is a list of these mistakes and how to avoid them so you can install your pavers the right way.
- Crooked curbs. Pavers are standardized and go through high quality control, but this is not the case with curbs. The slightest deviation at the beginning of the construction of a curb can end in a very visible kink after a few meters. Measure the confinement installation very carefully.
- Wrong base material. The base material cannot be chosen randomly. You have to ask yourself an important question: Where will the water go? If you plan for your soil to absorb water, you should choose a material that is porous and coarser than sand. If you want water to slide off the paving, a fine material, like sand, is ideal.
- Bad maintenance. To prevent serious damage to your paver, it’s crucial to act as soon as you see a problem. Remove any weeds that appear between joints and replace broken pavers.
Patterns for laying pavers
Need a bit of inspiration? Here are three of the most common patterns for laying pavers. They do not require much planning and can be done with rectangular pavers.
- Parquet . Alternate two horizontal pavers and two vertical pavers, so they make a column.
- Spun . Lay the pavers parallel, but stagger the joints so they line up with the center of adjoining rows.
- Fishbone . Place a vertical paver and then another perpendicular to it, at 90 degrees, as if it were a staircase. Repeat the pattern.
Ready to remodel your garden?
Installing pavers requires patience and a bit of effort. But if you follow the guidance in this article and keep an eye out for common mistakes, it doesn’t have to be difficult.
For this reason, paving your garden can be the perfect remodeling idea. You can do it yourself and it will give a classic and sophisticated look to your garden.
The best part is that in COMOPA Prefabricated you can get the pavers that fit exactly in your project. Also, if you need expert advice to select your pavers, do not hesitate to contact us.